Month: July 2016
Berea Craft Festival & Boone Tavern

So Handsome and I took a break from doing projects at the house and went on a day date 😘 That’s correct a day date! By the time we get done with work during the week and whatever were working on over the weekends I am so exhausted that I would never make it to dinner and movie, so we came up with day dates! I really think it’s a neat idea, there is so much to see and so much to do here in the Bluegrass state!
So we headed to Berea for their annual craft festival. Berea is a quaint town known for its rich history and beautiful crafts. It’s home to a private liberal arts college where the students create amazing art.

The festival had artists from all around the United States. Some artists were giving live demonstrations on how they make their crafts and there was even artists entertaining with music.
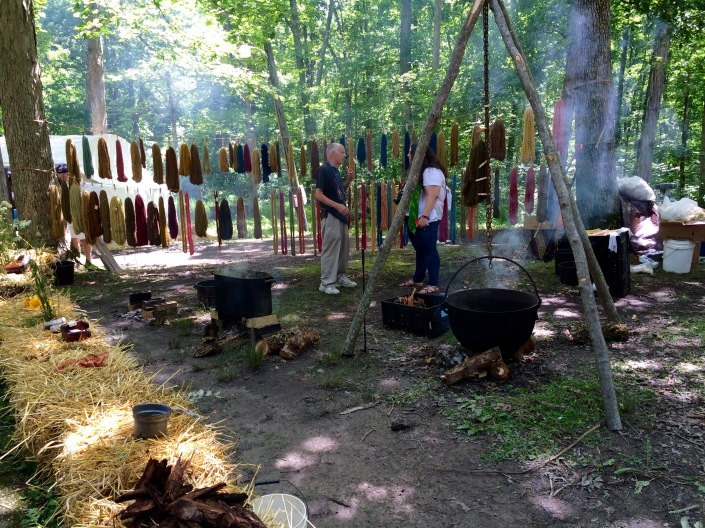
This artist was dying various yarn and wool for knitting, weaving and crocheting.

There were some artists who were sharing their craft with performing and singing.

Then of course there was food! Amazing food!!!!!! So we had to go visit the Amish because they are known for their amazing FRIED PIES!!!! Amazing! Handsome and I split an apple pie!


Well of course I couldn’t leave with out buying something so I found an artist who took very small flours that he grows and presses them in glass! Absolutely beautiful. This is the one I brought home with me.

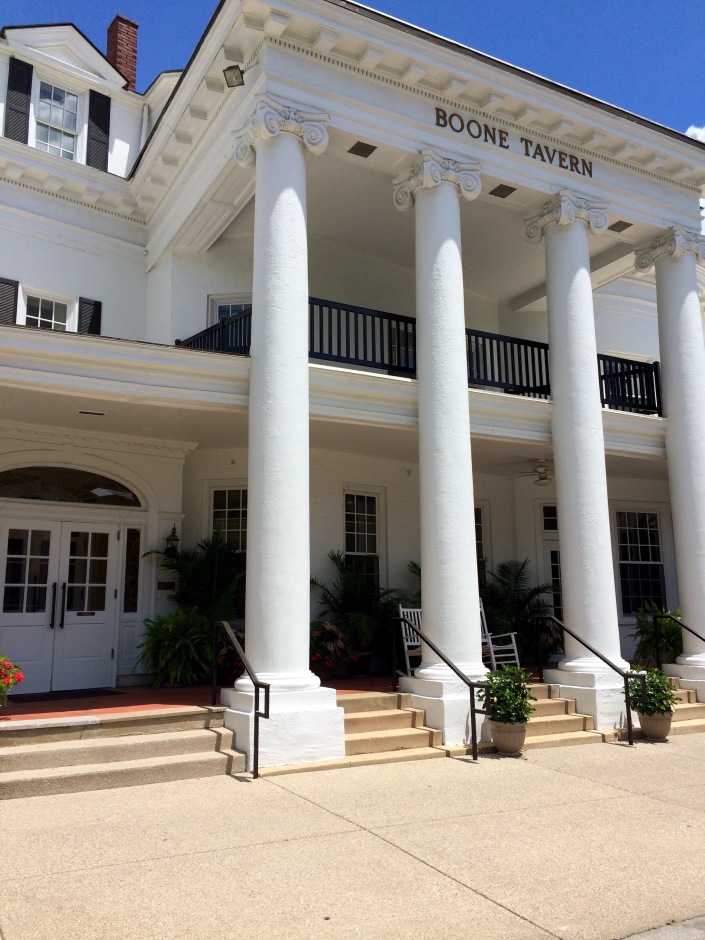
Then Handsome surprised me with lunch at Boone Tavern. Boone Tavern is a historical hotel that was built in 1909 as a guest house for those visiting Berea College.
The food was AMAZING and the service was none other than southern hospitality!

Handsome of course ordered the burger and I got the Tavern salad, but nothing beats the traditional spoon bread! If you’ve never had spoon bread you don’t know what you’re missing. It’s not the prettiest thing in the world but it absolutely wonderful!! Yum!!

After that we went to some of the local shops in the area and there was a student from Berea College making place settings and coasters on the loom. She even gave me a lesson!!!! I was super excited- looks harder than you think, I swear there’s a science behind it!

It was beautiful day and wonderful day date with my Handsome! 😘
Another adventure in the Bluegrass state, many more to come….
DIY Ottoman

Hello everyone! Yes I know it’s been awhile….life happened and we’ve been busy and I have made a post in about 2 years! Since then a lot has changed. Handsome and I have bought a new house and taken on MANY diy projects. The newest project is an ottoman with storage. In our new house we have a basement that we recently remodeled.
Needless to say we’ve done ALOT of work!! Anyways….now we want to move our relaxtion spot down stairs to the UK Man Cave aka the basement….hence the reason for the ottoman with storage. 😊 I wanted to make something that serve many purposes. I wanted something to serve as a foot stool, and something we could also use for storage and something that would also be decorative and a centerpiece for the room….so that is why we came up with the ottoman. You know me, I had to add a little female classy to the UK Man Cave so I found this paisley UK blue fabric at a fabric store and decided to go with that to just add a little pizazz to the room!
Step 1: Gathering Materials
So we started by gathering our materials so we headed to our home away from home…..Lowes! Seriously…the people there know us by name 😀 plus Handsome LOVES Lowes, like I love shoe shopping! Isn’t he so cute?!? Such a serious thinker!!!!
Materials:
3 1×12 @ 4 feet long
10 feet of trim
4 bun feet
4 bun feet plates
2 pieces of ½ inch plywood 36 x 24
1 piano hinge
1 ¼ inch Course Pocket Hole Screws
Golden Oak wood stain
2 yards of fabric
1 piece of foam – same size as your plywood 24 x 36
Batting (enough to go over your foam and cover your edges)
We started with the two pieces of the 1 x 12, and cut 4 pieces. I cut 2 pieces at 36 inches and 2 at 22.5 inches.
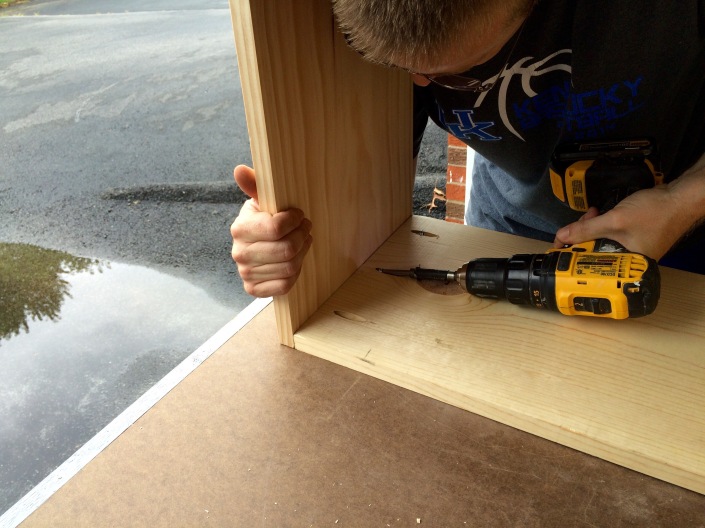
Then Handsome drilled 3 pocket holes in each end of the 22.5 inch boards.

Then he screwed those boards into the 36 inch boards with the Pocket Hole Screws, attaching them together to make a box. Yay!

Then he nailed 1 of the ½ inch pieces of plywood onto the bottom of the box.

Then he nailed on the trim around the edges of the bottom on the box and screwed on the bun feet plates in each corner.
 The next step was to stain the base. I am a HUGE fan of walnut stain, but with this project we used Golden Oak because Handsome also re-did the basement stairs with the same stain, plus we have some other pieces that have the same stain and we wanted it to all match. We did not paint the inside of the ottoman, we kind of like it that way better, and we were going for the rustic look. I am on the lookout for a sachet to put in there so that our blankets don’t smell like plywood!
After the stain had a few hours to dry, we flipped the ottoman over and screwed the bun feet into the plates.

Ok so next was putting the fabric on the lid (the other piece of ½ inch plywood) which was my job, well it was a hard job! Probably the hardest job out of the entire project. I’m just joking, I was a little dramatic about this part because the first fabric I bought I DID NOT LIKE!!! So I was not happy with the outcome, but anyways, I started by laying out my fabric, then laying the batting on top of that, then laying foam on top of that, you see where I am going here, just keeping laying things down on the floor, one thing on top of another. Then finally laying the plywood down on top of everything, making sure everything is centered. Ok so this next step is very important, do what I like to call a trial run by pulling your fabric with the batting and foam around the edges of the plywood and flip it over to make sure that the design of the fabric is centered on the plywood and you like the way it looks before stapling it down. I made the mistake of just stapling it and then when I was finished the fabric was not centered and I had to pull out all of the staples and redo it! Not a happy person!!!!

So next make sure everything is lined up correctly and pull your fabric with the batting and foam coming over the edge of the plywood a little bit and staple into the plywood. You want to pull somewhat tight, but not too tight. Work on one side and move to the opposite end before moving to the other sides. Now on the corners, I did those last, I just grabbed the remaining fabric, pulled it and kinda twisted it at the same time. I am sure there was a better way of doing this, but like I said this was the hardest part of the project and once I got to this step I was wore out and I just wanted to finish! It was like playing twister with a big box in the middle trying to maneuver your way around it!!! LOL

Then I trimmed back the excess fabric, and took the left over fabric and folded the edges in and stapled it to the inside of the plywood to just give it more of a finishing look.
 Handsome attached the lid to the bottom with the piano hinge…kinda tricky! This is definitely a two person job!


Needless to say by this point I was tired and Ella was pooped, we found her napping on the garage floor 😊

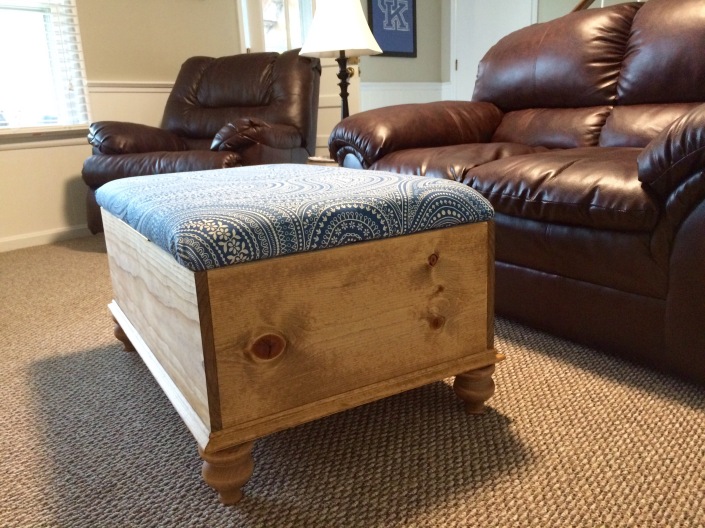
We finally finished our project and we had a ottoman with storage!!!
Hope you enjoy reading the post and now you get started making something 😘
Adapted from http://www.autumnostlund.com/search?updated-max=2013-02-15T13:55:00-08:00&max-results=1&start=1&by-date=false
Easiest Pork Chop Ever
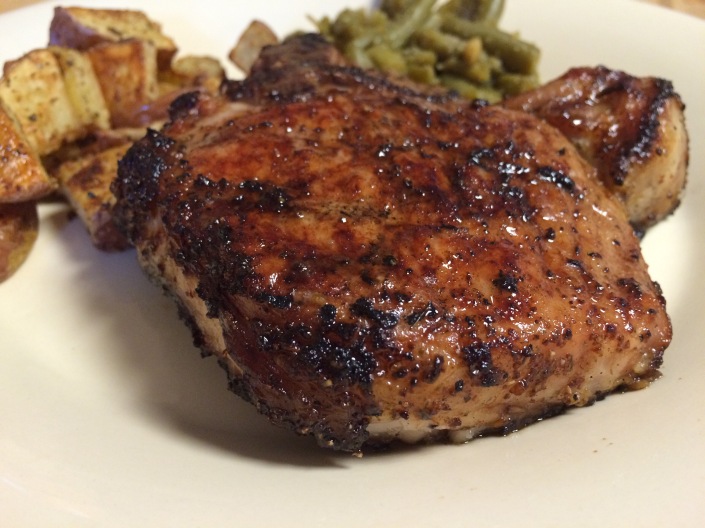
So Handsome and I went to Asheville, NC last year for our anniversary and we ate at Sunset Terrace at Park Grove Inn where we had the most AMAZING pork chop ever! Breathtaking view at dinner of the Blue Ridge Mountains….romantic! Yes it was!

Well Handsome had the pork chop and I ordered the salmon, but he shared his pork chop with me 😘 Ever since then I’ve been trying to come up with a recipe for that pork chop and this one comes pretty close.

So almost a year in the making I think I’ve come up with the easiest and tastiest pork chop ever! Simple and scrumptious.
Easiest Pork Chop Ever
1/4 cup of EVOO
1 1/2 Tablespoons of soy sauce
1/2 Tablespoon of Mrs.Dash Garlic & Herb seasoning.
Mix all ingresdients in a bowl and let the pork chops marinate for about 30 minutes to an hour.
We grilled our pork chops because we are grill people, until the meat themometer read 170 degrees, but you could also roast them in the oven on 375 degrees for about 30-45 minutes depending on the thickness of the cut.
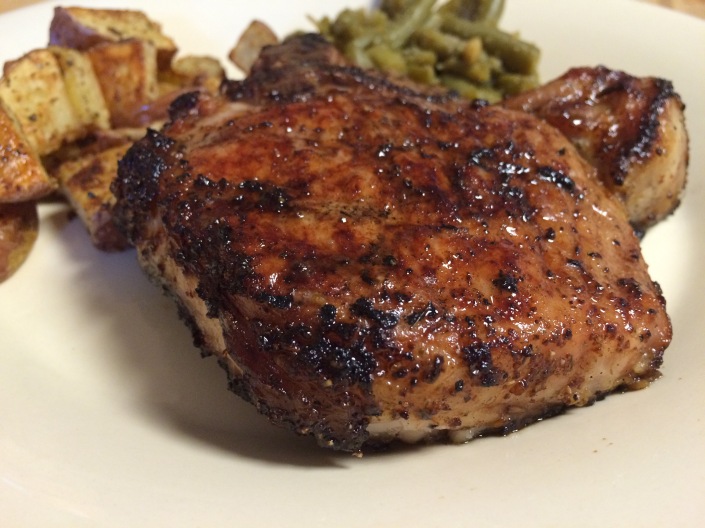
Ta da! There you have it! We paired ours with roasted red potatoes and green beans. You could have mac-n-cheese and broccoli as well. And if you wanted to be fancy you could serve the pork chops with my Raspberry Sauce from an earlier post.
Raspberry Sauce
1/2 cup raspberry jam (can be substituted for any type of jam)
2 tablespoons balsamic vinegar
1 teaspoons Dijon mustard
Add the jam, vinegar and mustard to a sauce pan. Cook on low and stir for 2-3 minutes or until thickened. Serve with pork.
Hope you enjoy! 😊
Our Fixer Upper – Curb Appeal Facelift
Hello everyone! It’s been awhile….I’m hoping I can get back to blogging. Life is crazy 😜 Since we last spoke 😊 Handsome and I bought and new home! Yay! I am not sure that it is considered a fixer upper by true definition, but I promise you it’s been a fixer upper for us!! Handsome takes care of all the MAN POWER and I get to decorate! Yay!!
First things first, the front of the house needed a way overdo facelift….so that’s what it got! Out with the old and in with the new!!!
Before:

Please don’t mind the crazy lady on the ladder, she’s just cleaning the cobwebs. Haha! As you can see there was WAY too much white and an aqua door!! Plus the landscaping was out-of-control!! So we put together a plan to give some TLC!
After:

Ta da!! So we cleaned up the landscaping and laid new mulch, planted some flowers in the planters that were already here, I just gave them a fresh coat of paint. Then we replaced the mailbox and light fixture. We painted the front door and shutters with a really pretty rich blue to bring out the beautiful brick. We also painted white trim around the door. Then we replaced the doorknob, lock and kick plate to match.

Then I made new wreath for the front door. Every new house needs a new wreath! We also ordered the vinyl address for the front door.


So there’s the front and next we moved inside!
More to come…..😊
